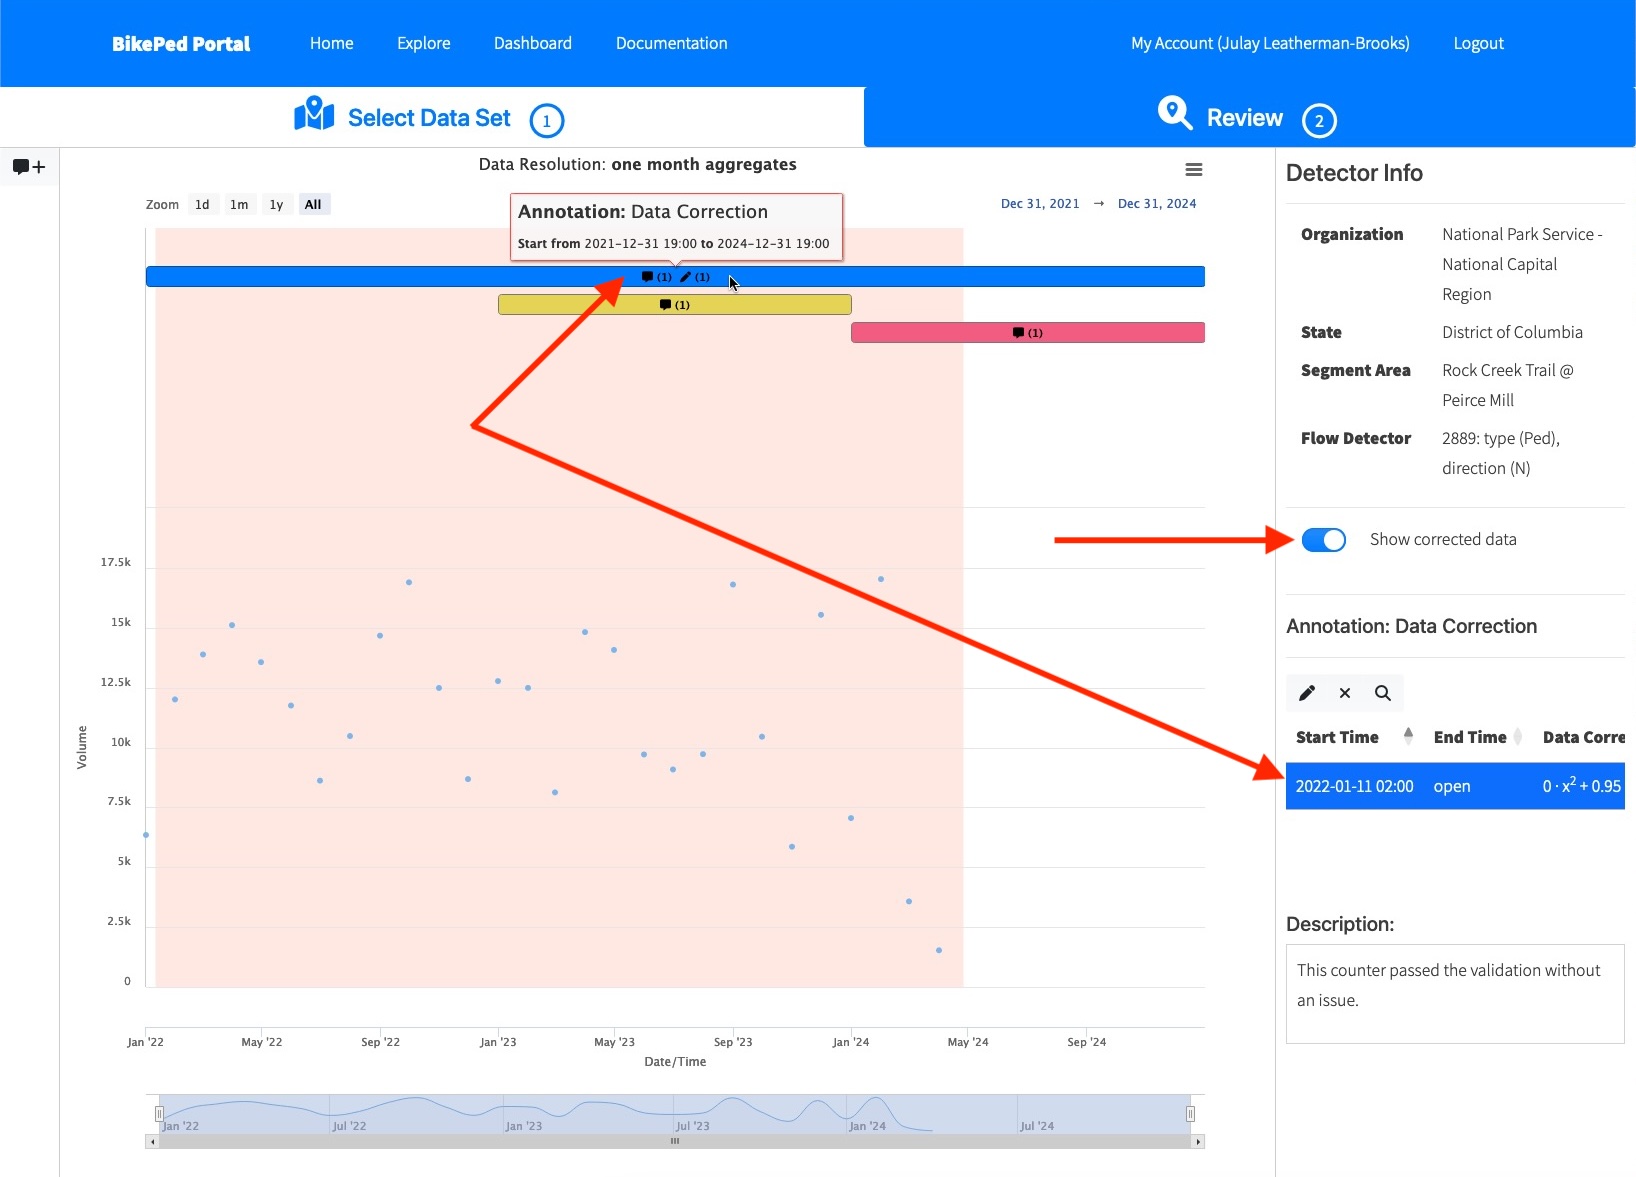
Adding a Correction Factor
The following tutorial explains how to use the new correction factor feature of the annotation tool.
Accessing the Correction Factor Tool
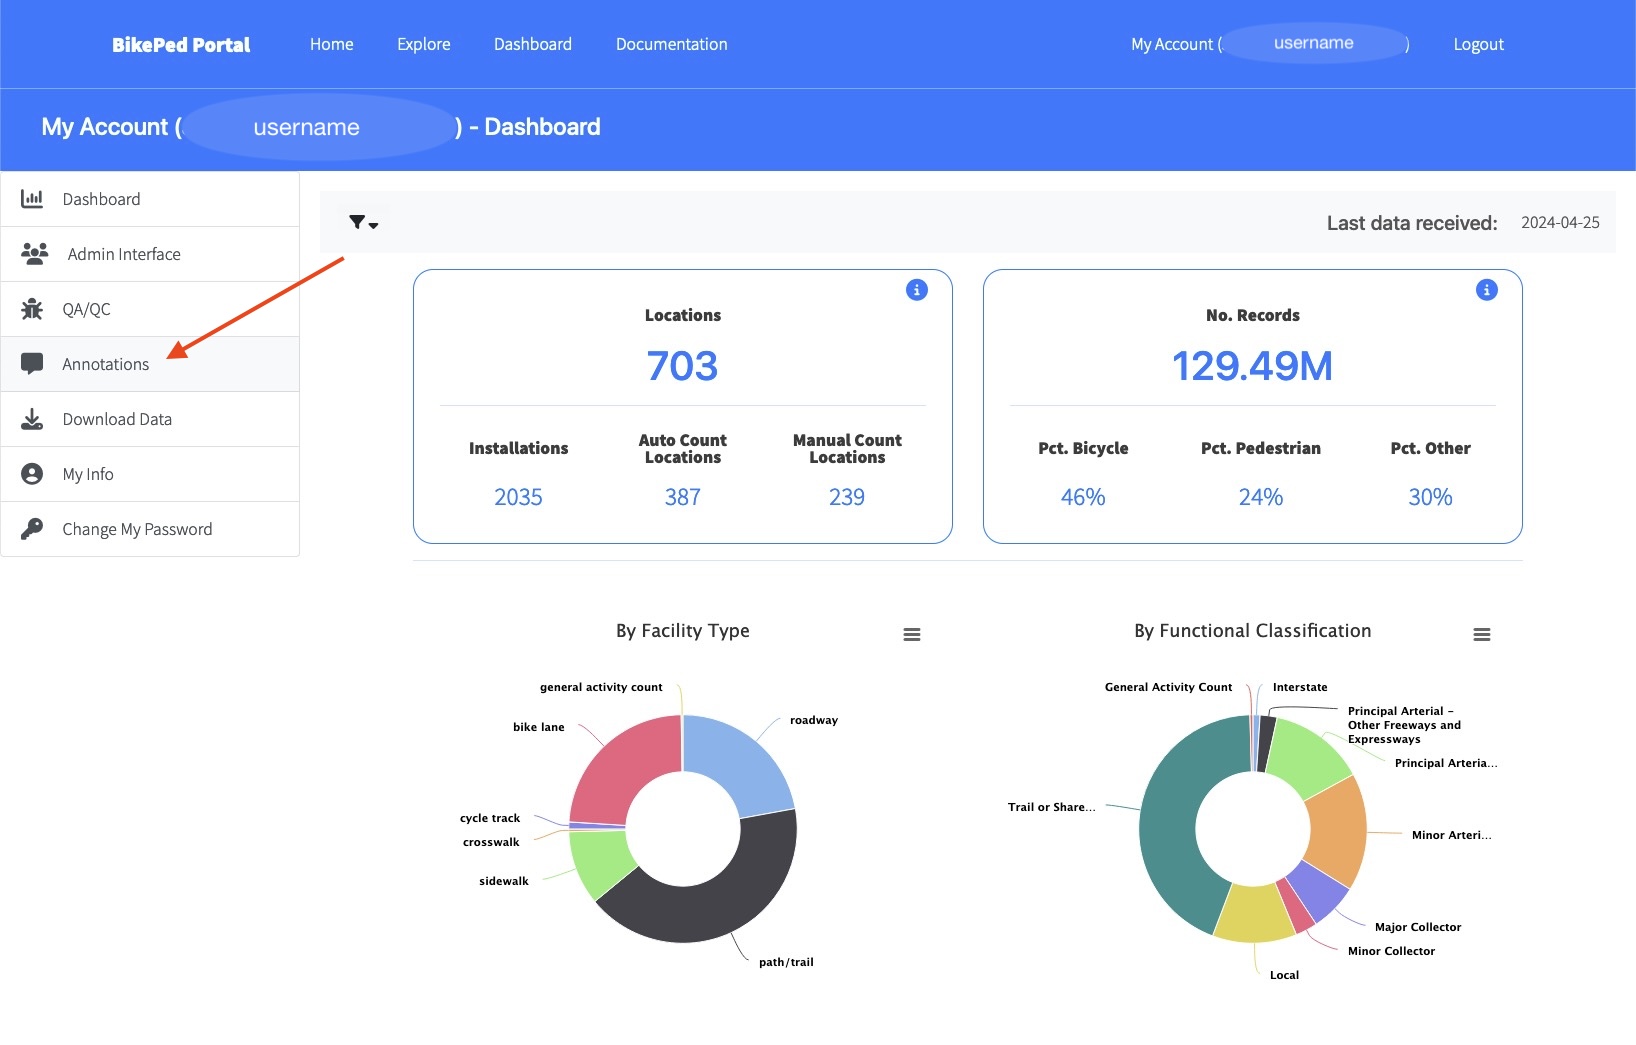
From the dashboard, click on Annotations.
Data Correction is currently only enabled for the Rock Creek Trail @ Peirce Mill segment area.
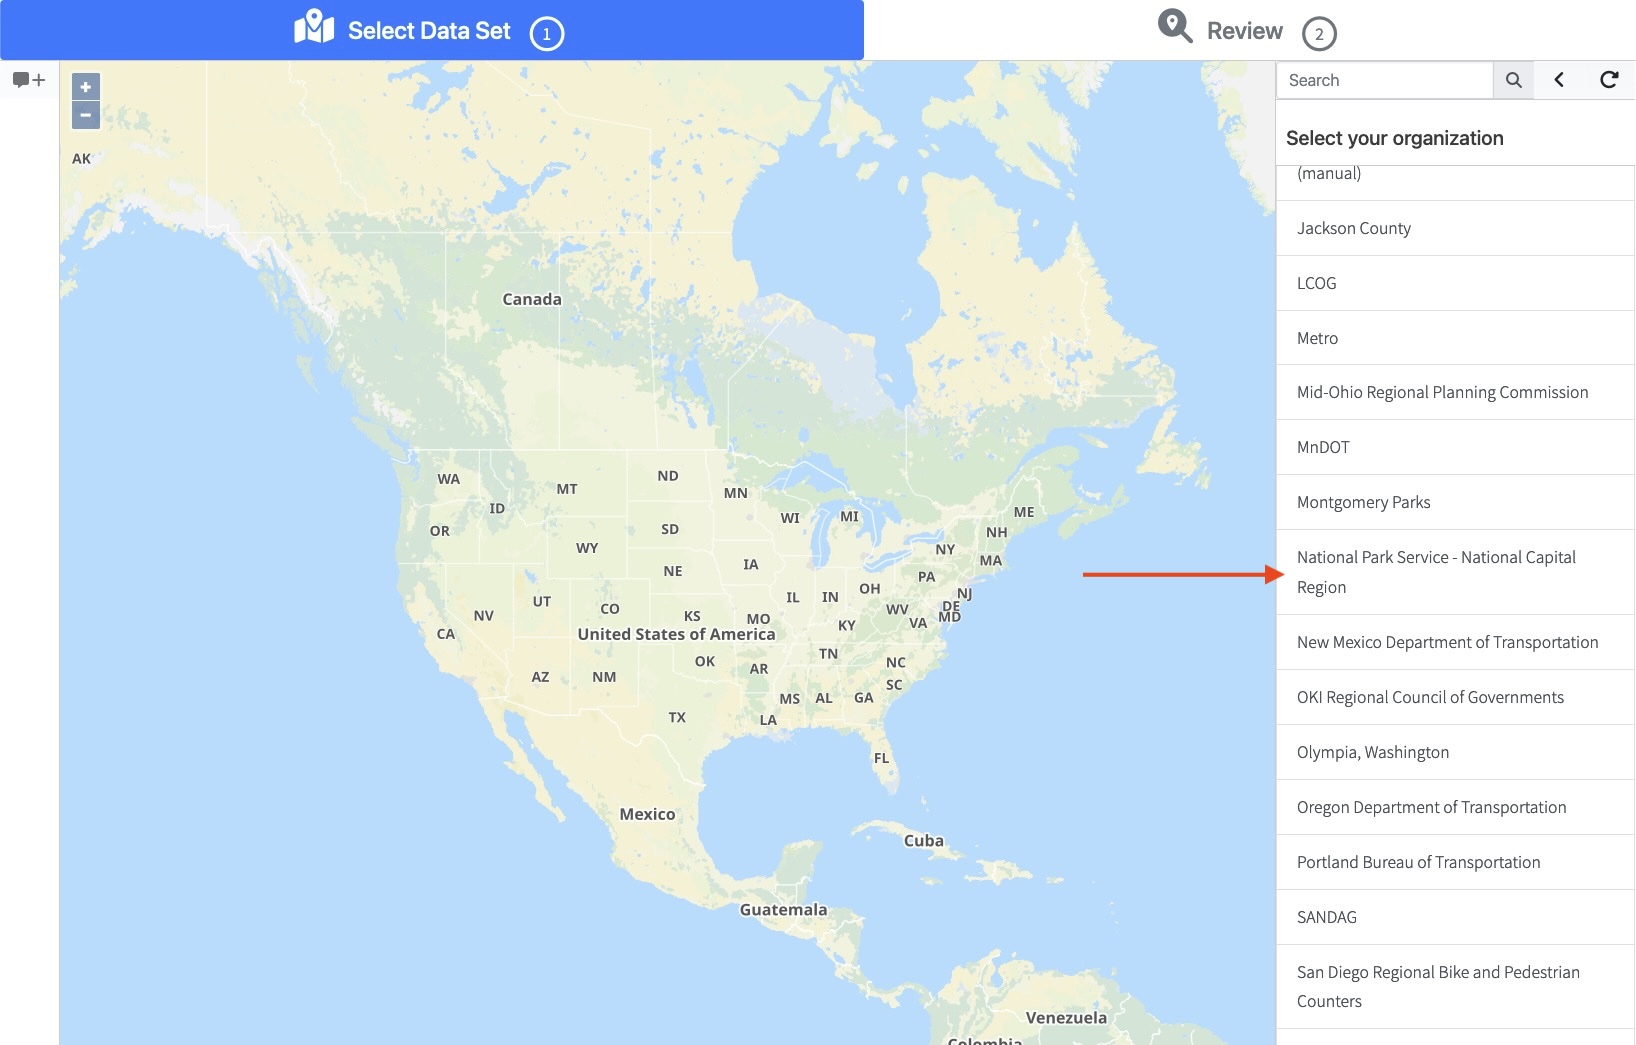
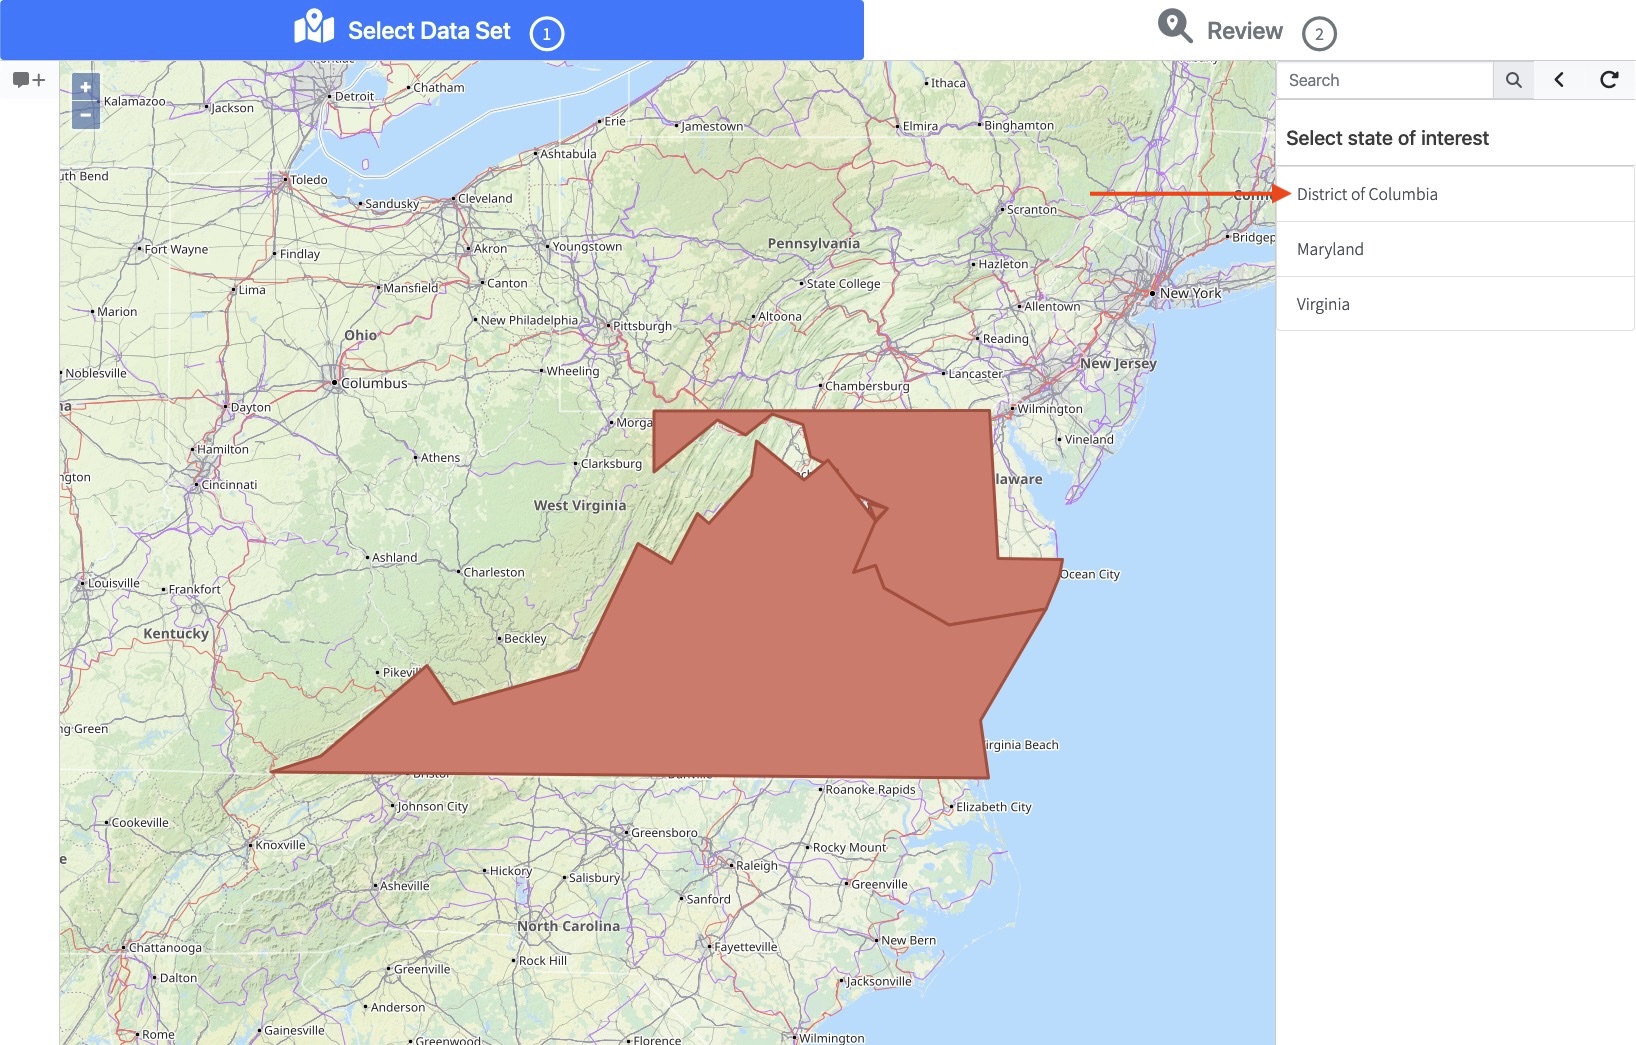
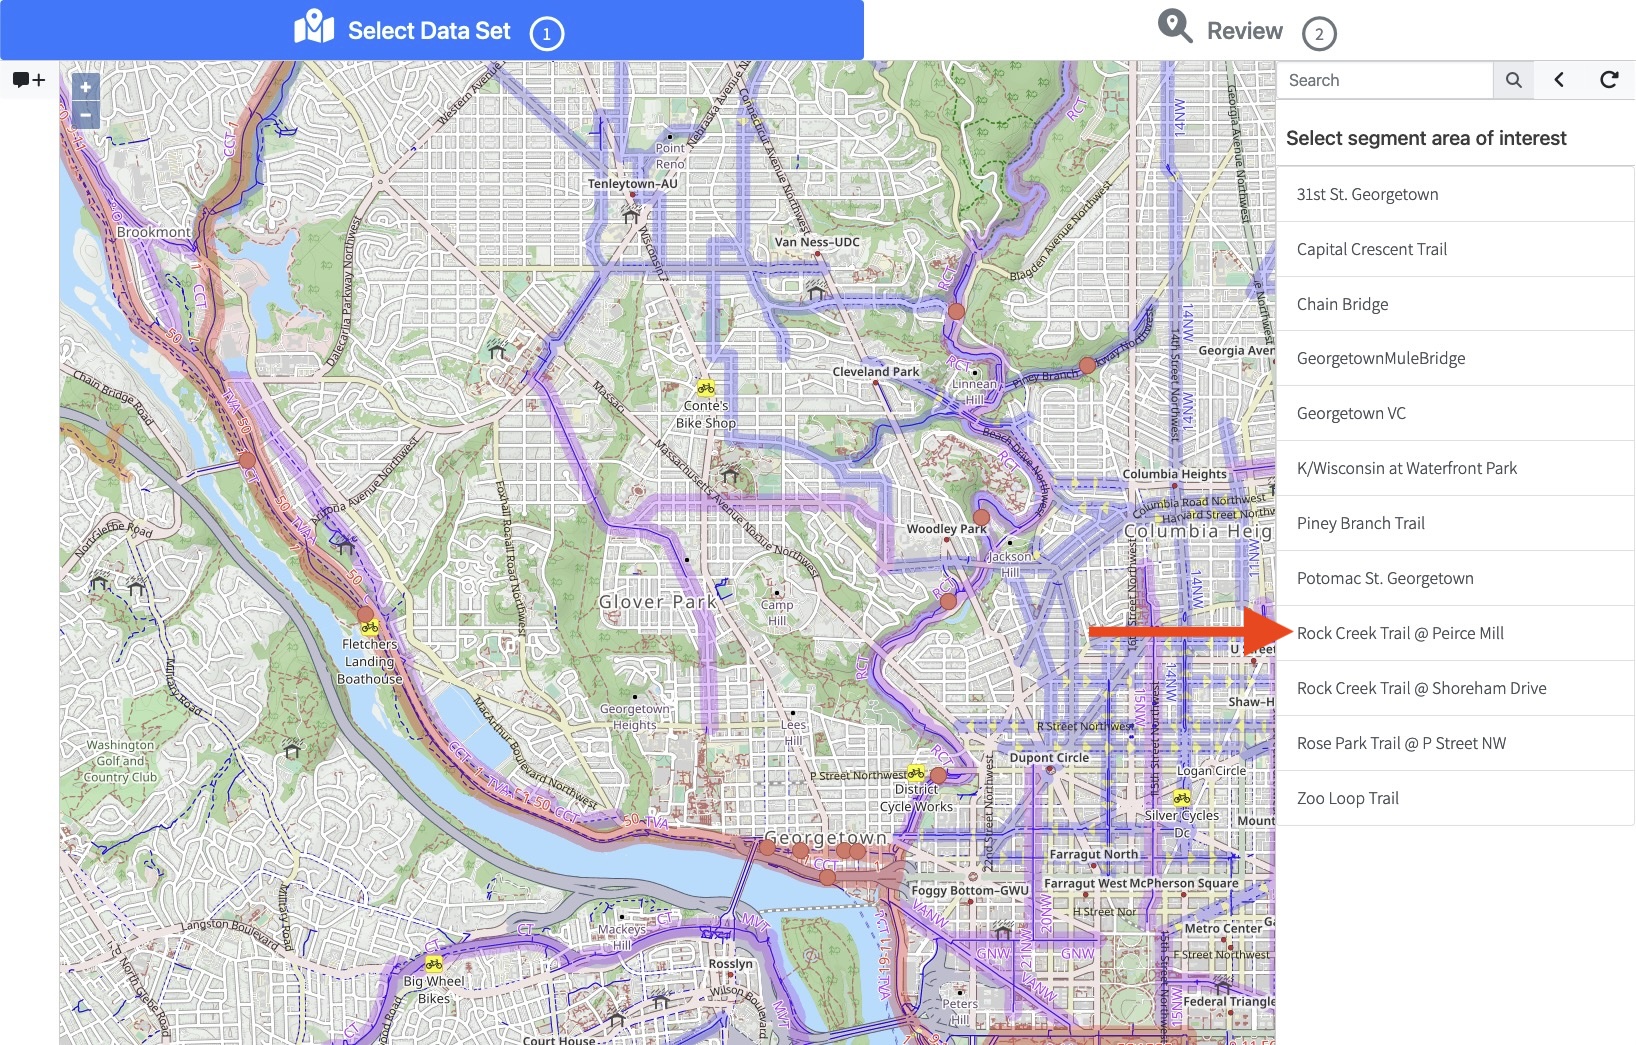
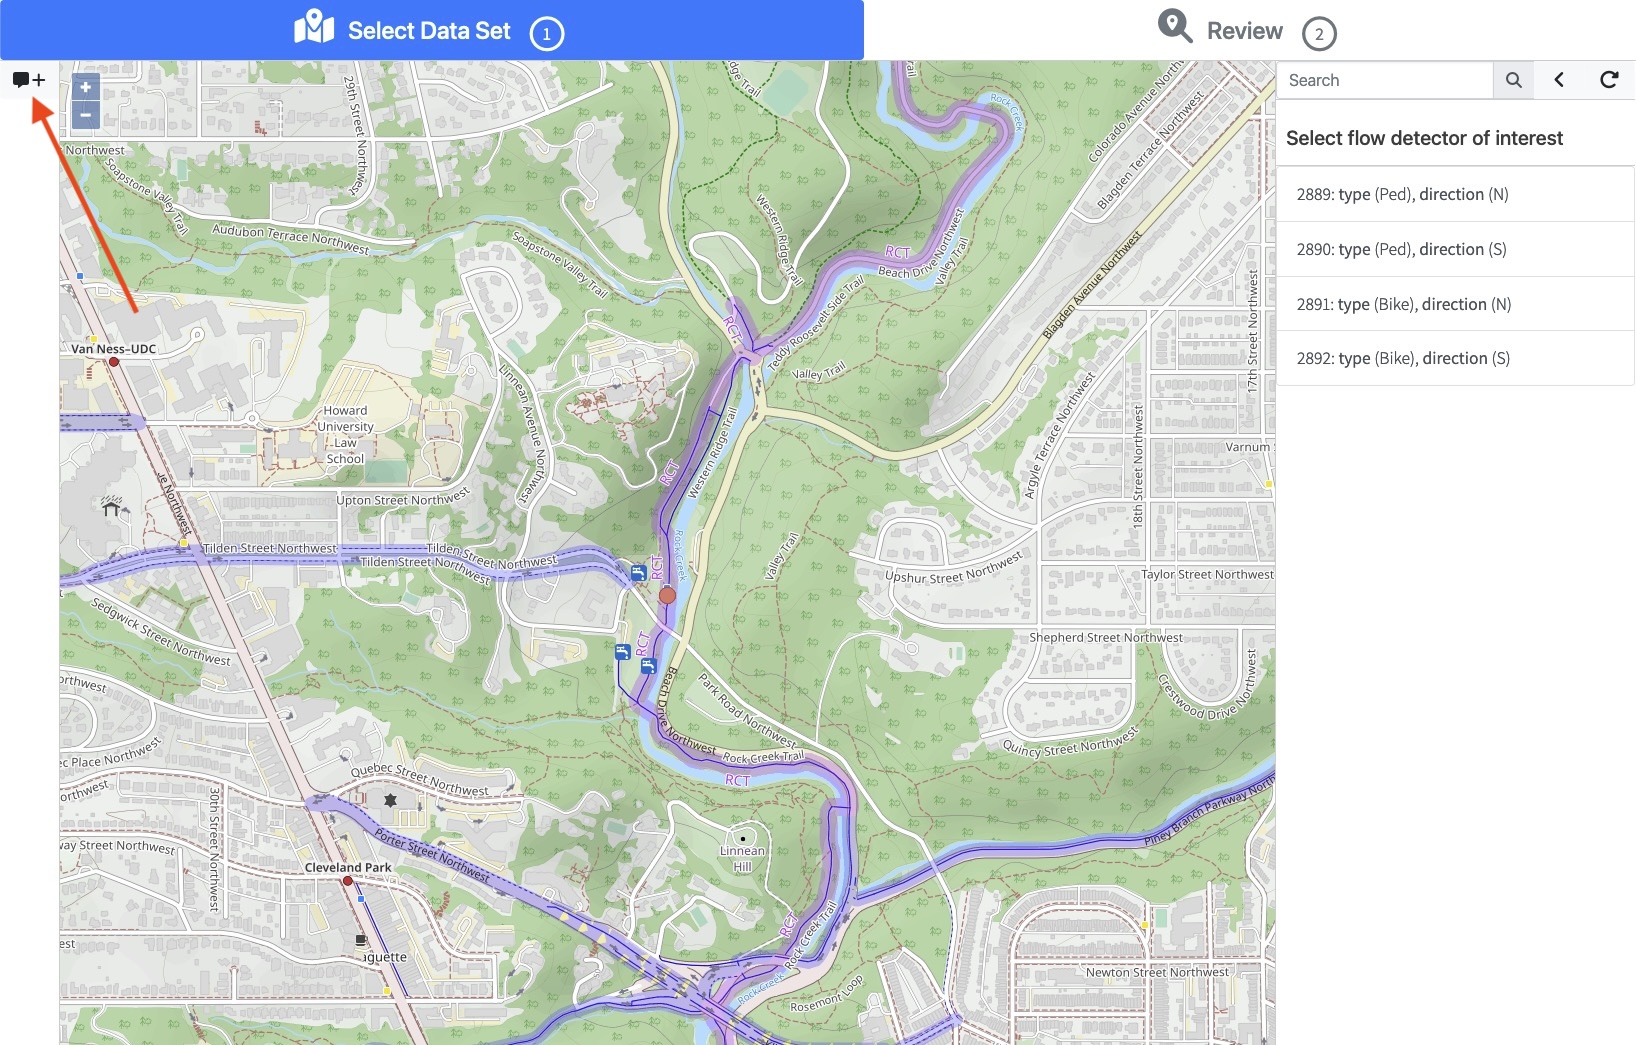
Once you’ve selected the segment area, do not select a flow detector. Instead, click on the text bubble / plus sign icon in the upper left (Fig. 5).
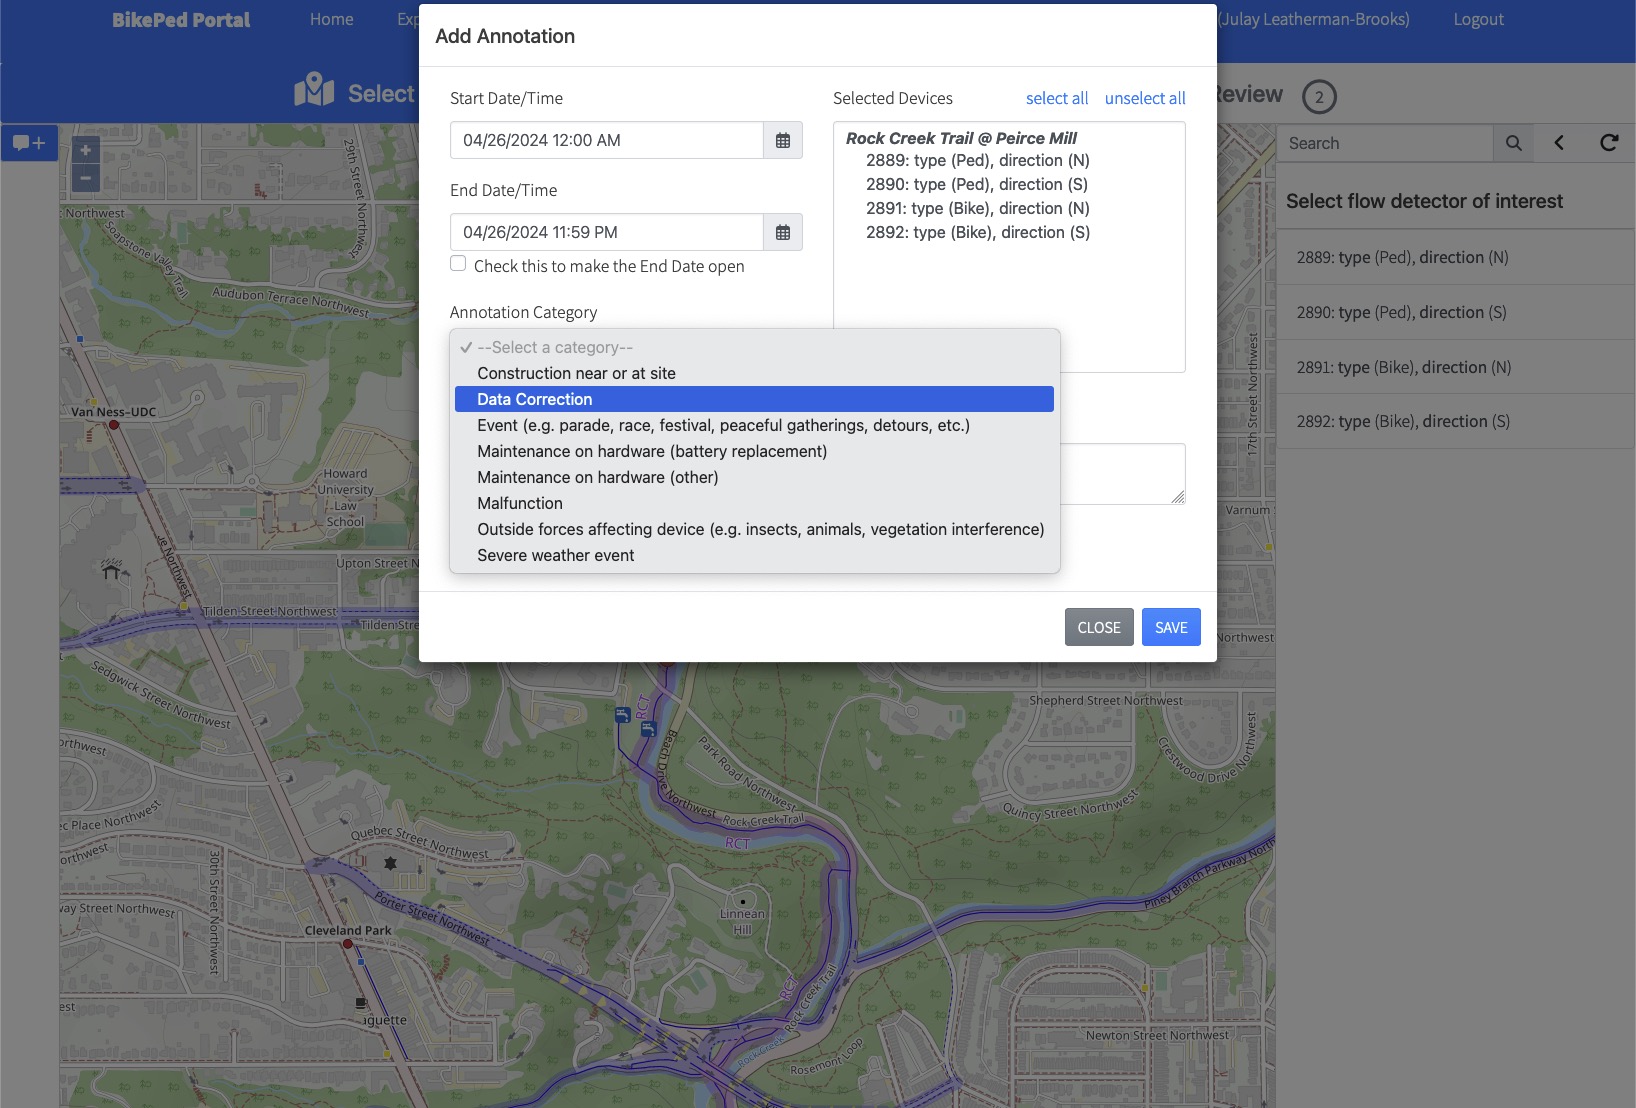
In the Add Annotation window, use the Annotation Category dropdown menu to select Data Correction.
Click the arrow to reveal where you can set data correction factors.
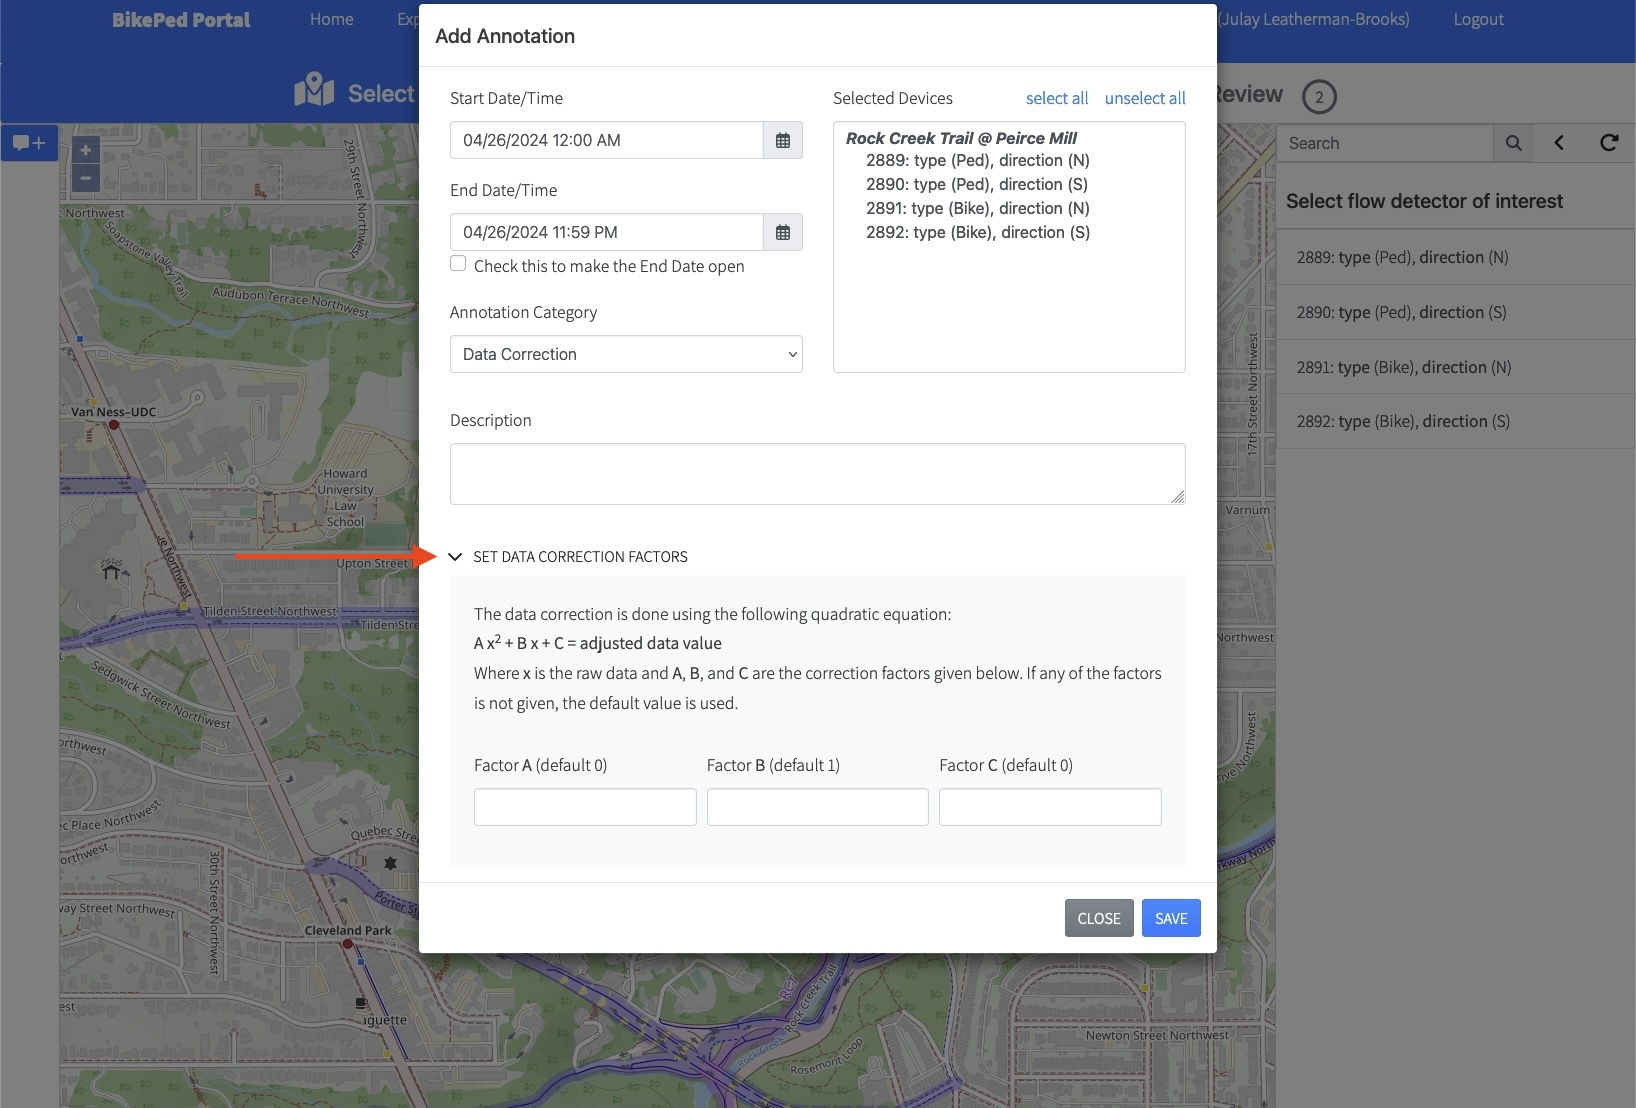
Click Save to exit the Add Annotation window. Then select flow detector of interest.
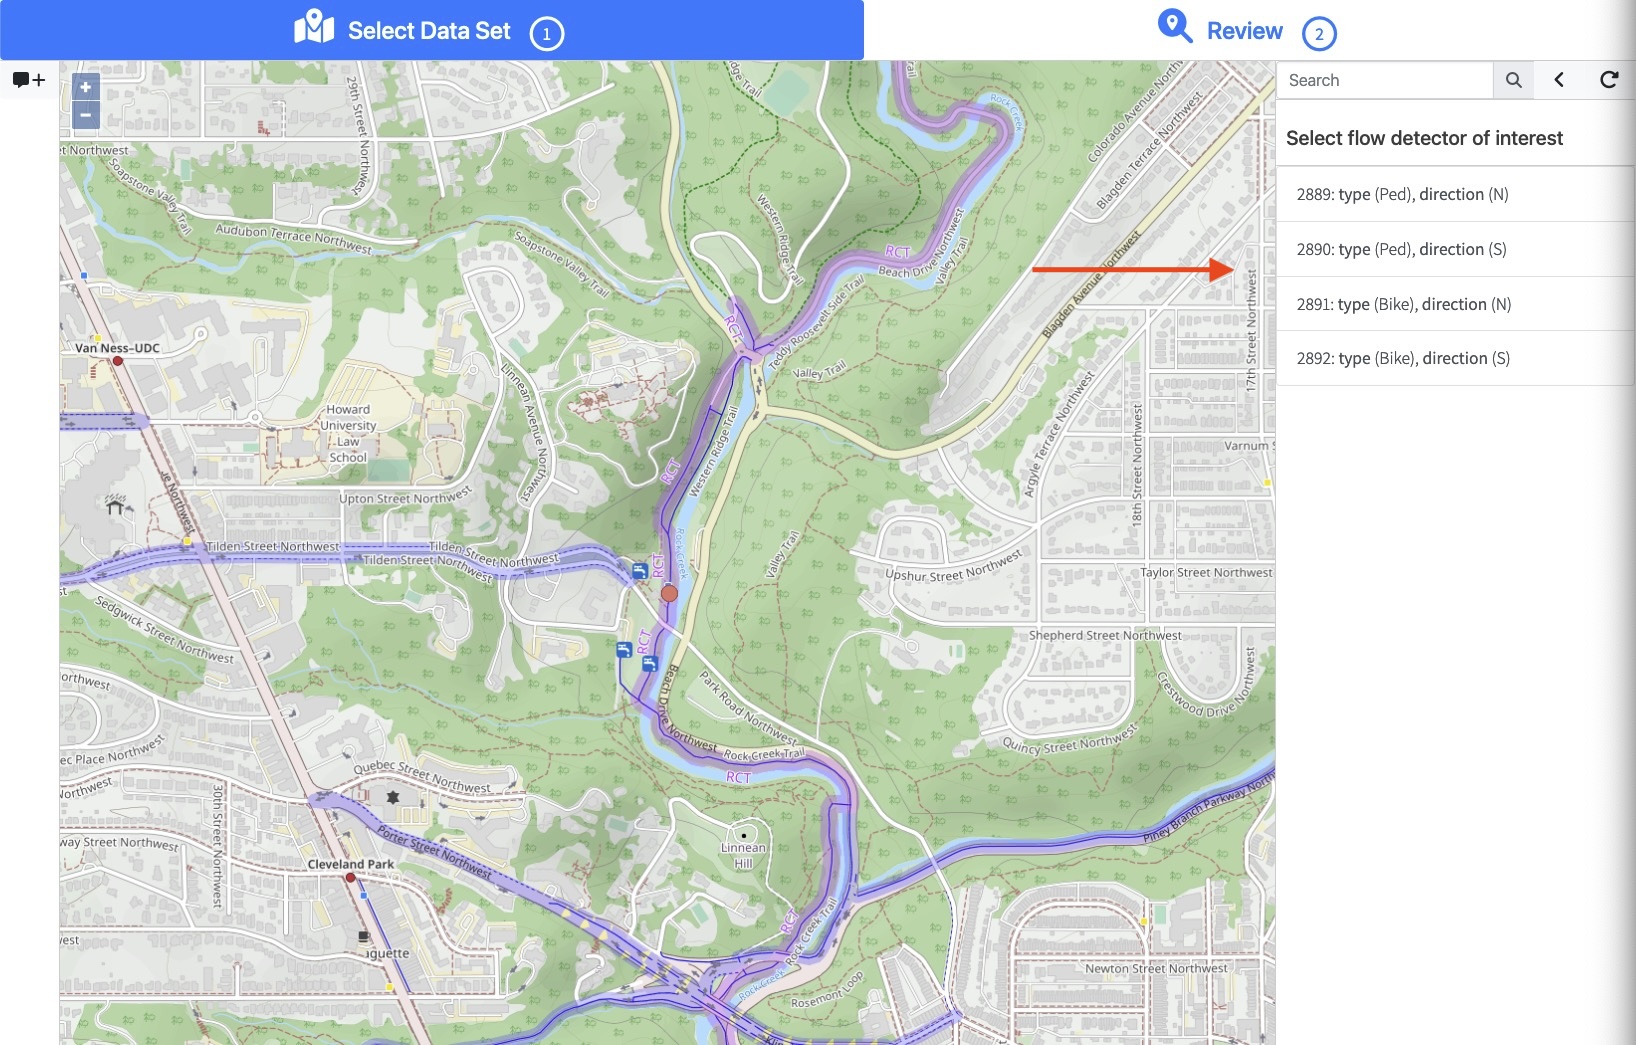
This last selection will bring you to Review Mode.
Review Mode
As with other types of annotation, you can click the colored bar to display information about the annotation in the sidebar on the right, and select levels of granularity from the Zoom menu in the upper left.
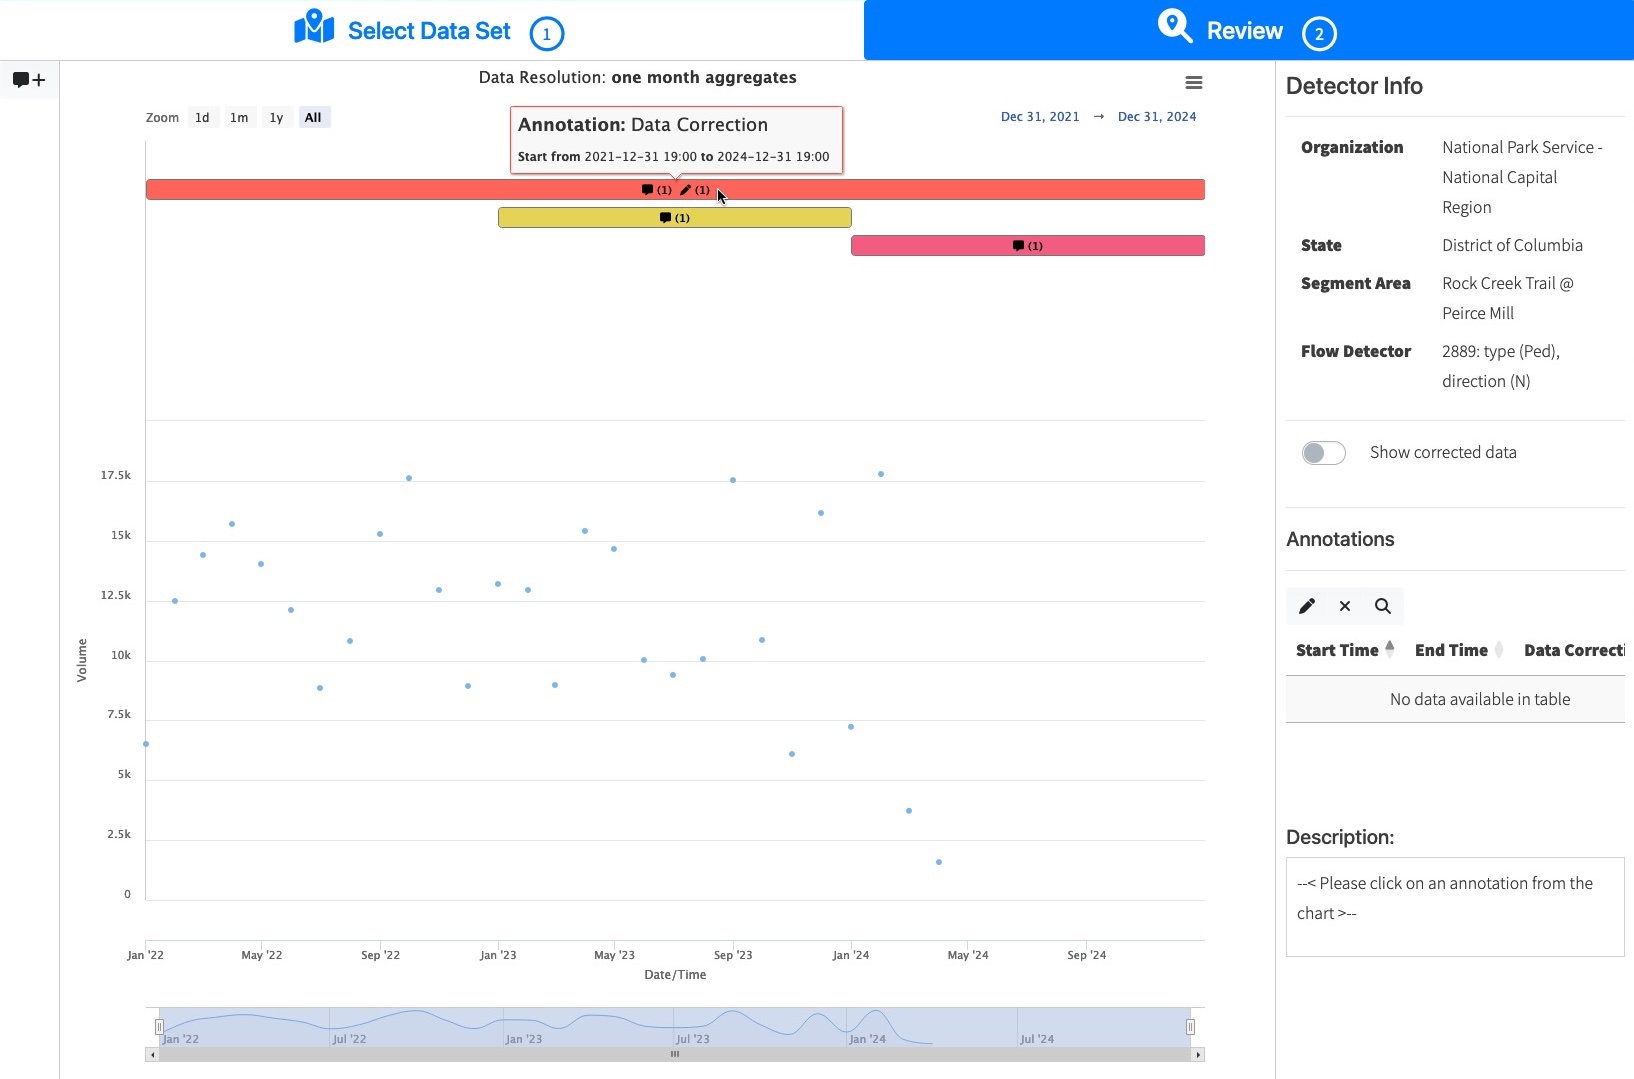
At any point, you can toggle Show corrected data in the sidebar on the right, and the data point display will update accordingly.
